Here is the full before and after photos of the kitchen where we painted and replaced pulls and hinges. We also replace the dated section of cabinets with open barnwood shelves.

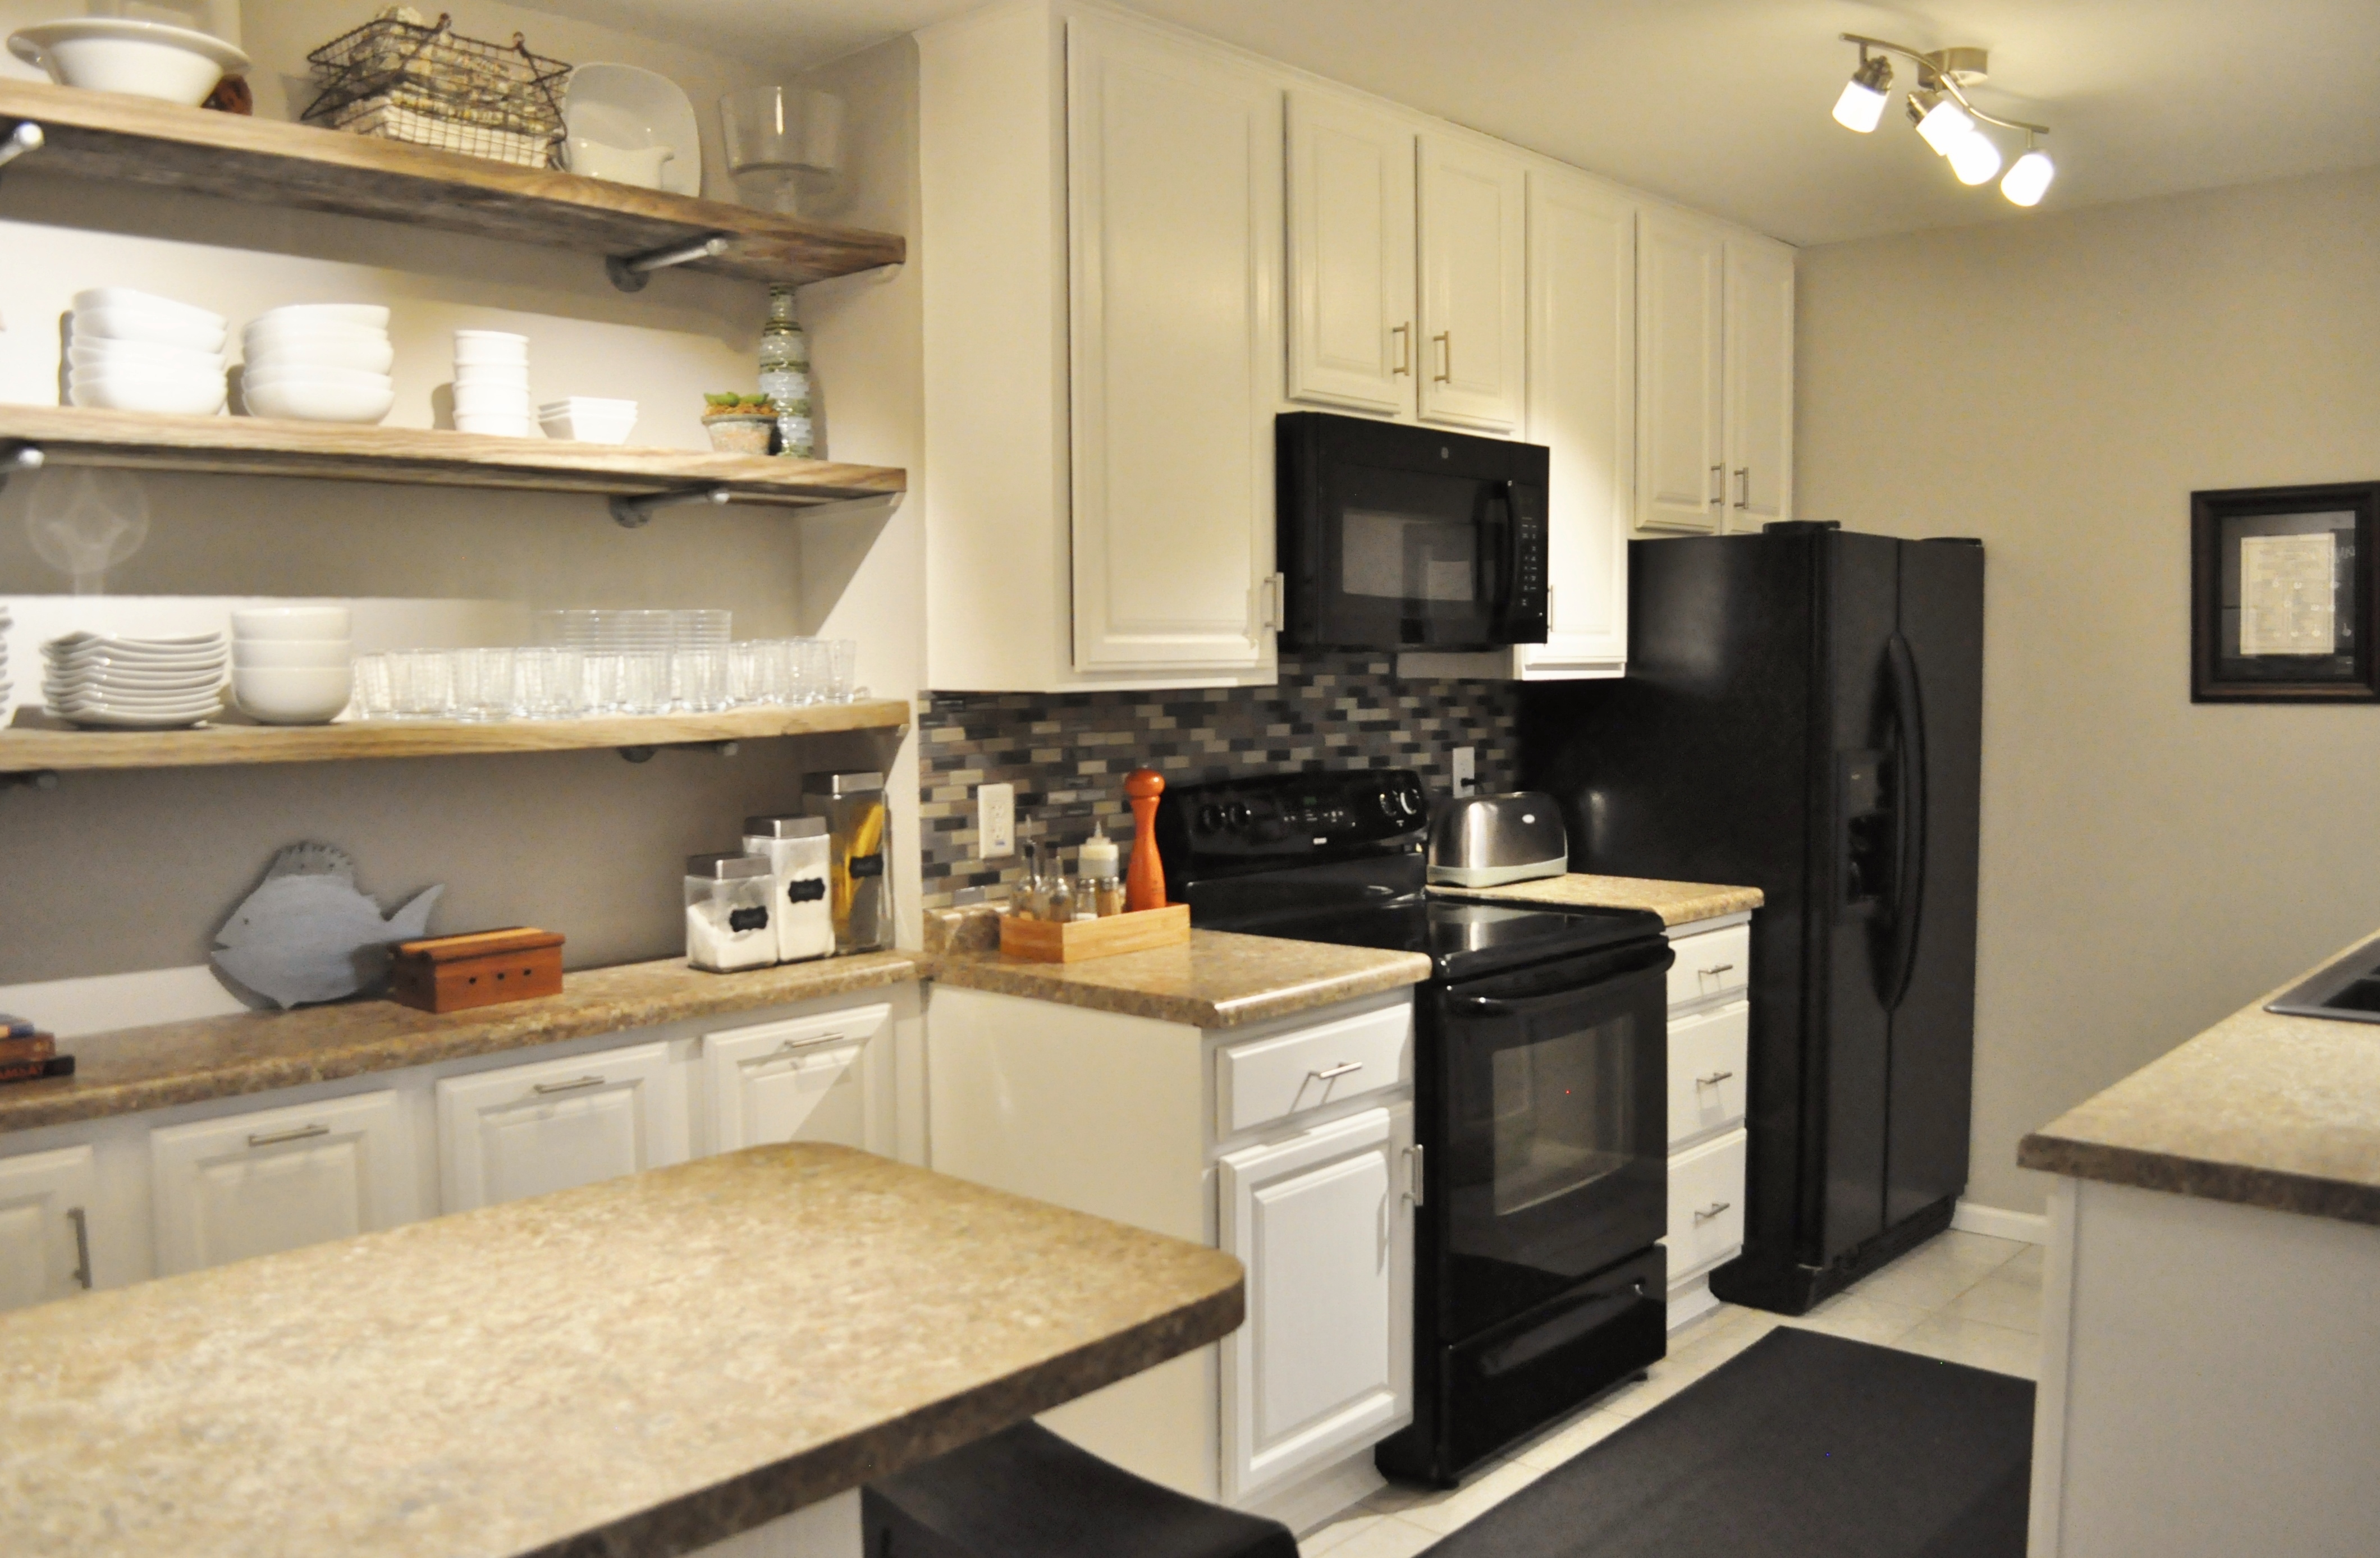
Here is the full before and after photos of the kitchen where we painted and replaced pulls and hinges. We also replace the dated section of cabinets with open barnwood shelves.
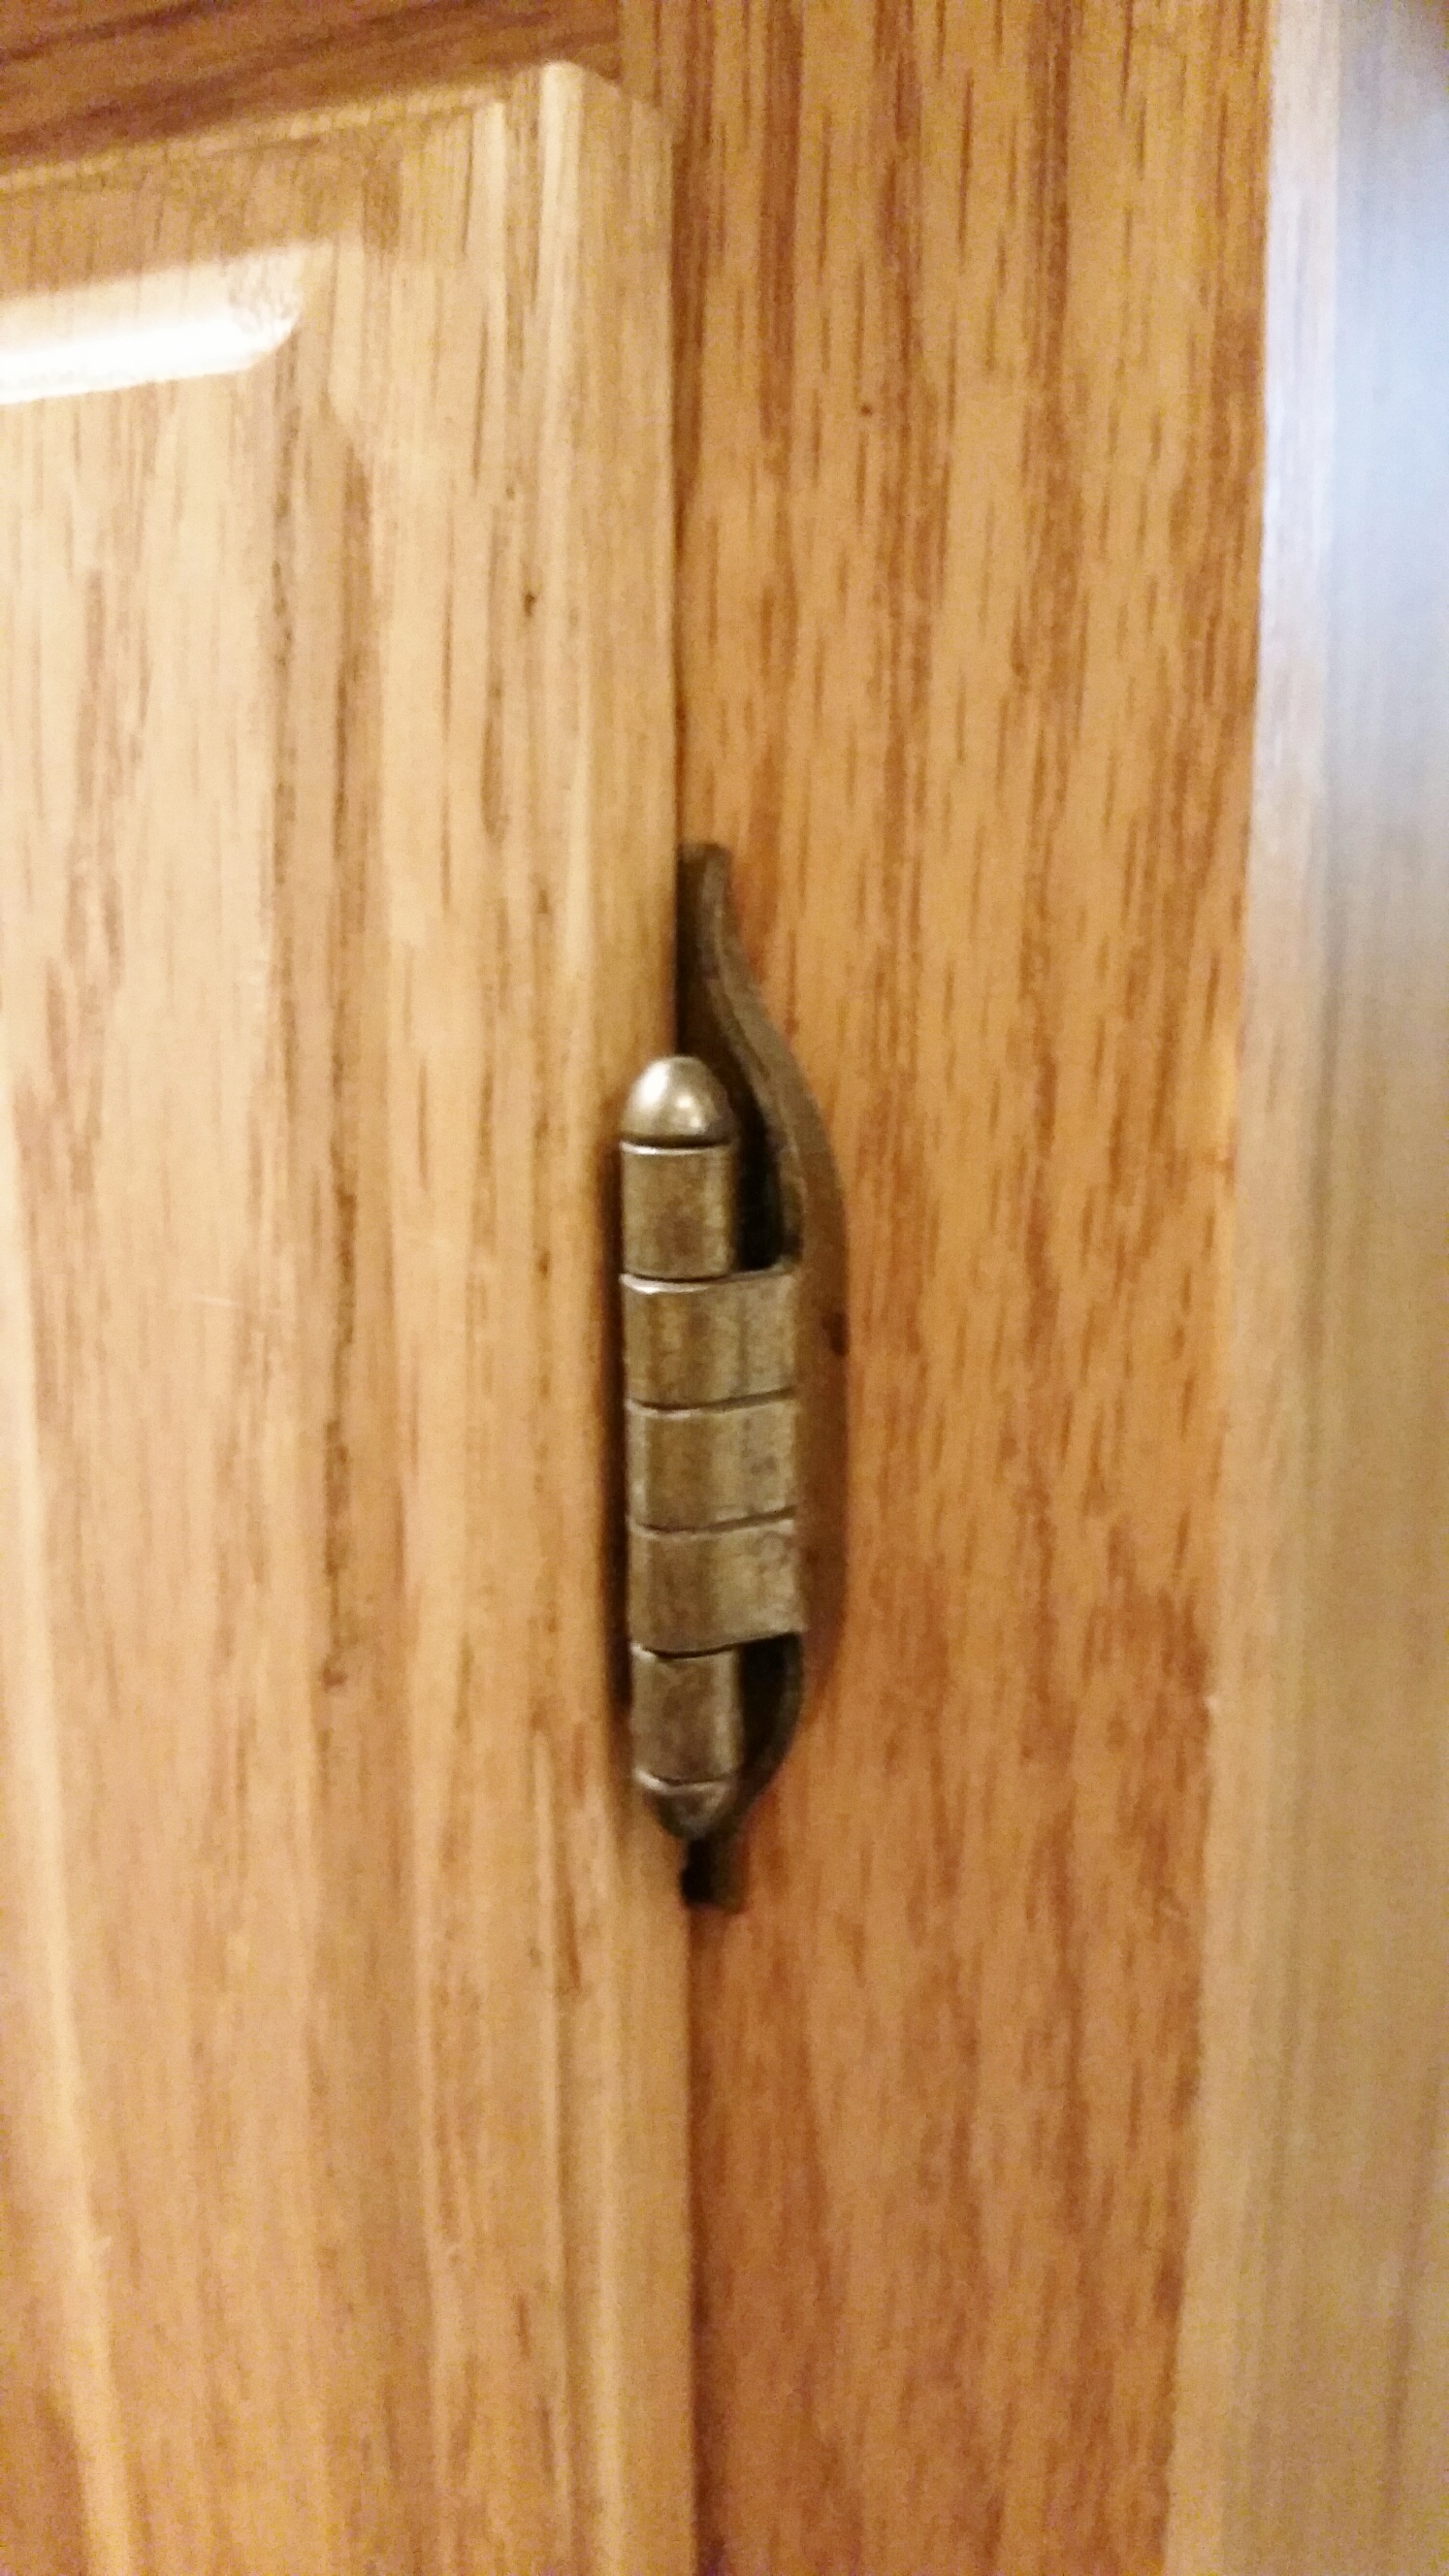
In the past, we’ve often recommended that kitchen cabinet pulls be replaced for a quick update. If you’re willing to take if further, replacing exposed hinges with hidden hinges can help cabinets look even more updated! These hinges are about $2 each and can be installed fairly easily with a template, drill and special drill bit. In the photos below, we painted the cabinets white before installing the new hinges, but painting is not necessary if there will not be exposed screw holes from the old hinges.
First, remove the doors from the cabinets and the hinges from the doors. If you want to paint the cabinets, do it now. Use the template to mark where holes will be drilled. Use the special drill bit (purchased by the hinges) to drill the hole per the manufacturer instructions. Install the hinges to the door and then install the door on the cabinets. Level the door with the leveling screws on the door. Enjoy your cabinets!